Are you looking for a simple app with Flutter?

Flutter has emerged as a popular choice for building cross-platform mobile applications due to its ease of use, fast development cycle, and expressive UI framework. In this blog post, we’ll walk you through the process of building a simple app with Flutter, perfect for beginners looking to get started with mobile app development.
Getting Started with Flutter
What is Flutter?
Flutter is an open-source UI software development kit created by Google for building natively compiled applications for mobile, web, and desktop from a single codebase. It allows developers to write code once and deploy it across multiple platforms, saving time and effort in the development process. Flutter uses Dart programming language, which is also developed by Google, and offers a rich set of pre-built widgets and tools for creating beautiful and highly performant user interfaces.
Setting up Flutter development environment
Setting up the Flutter development environment involves installing the necessary software and tools to start building Flutter applications. Here’s a step-by-step guide to setting up Flutter:
Install Flutter SDK:
Download the Flutter SDK from the official Flutter website (https://flutter.dev/docs/get-started/install) and extract it to a desired location on your computer.
Set up Flutter Path:
Add the Flutter bin directory to your system’s PATH variable to access Flutter commands globally from the command line.
Install Dart SDK:
Flutter uses Dart programming language, so you’ll need to install the Dart SDK as well. You can download it from the Dart website (https://dart.dev/get-dart) and follow the installation instructions.
Install IDE or Editor:
Choose an Integrated Development Environment (IDE) or code editor for Flutter development. Popular options include Android Studio, Visual Studio Code, and IntelliJ IDEA. Install the necessary plugins or extensions for Flutter and Dart support.
Install Flutter and Dart Plugins:
Install the Flutter and Dart plugins in your chosen IDE or code editor to enable Flutter development features such as code completion, debugging, and project management.
Run Flutter Doctor:
Open a terminal or command prompt and run the command flutter doctor. This command checks your system for any missing dependencies or configuration issues and provides recommendations to resolve them.
Configure Android and iOS Emulators:
If you’re developing mobile apps, set up Android and iOS emulators for testing your Flutter applications. You can use Android Studio’s AVD Manager for Android emulators and Xcode for iOS simulators on macOS.
1. Creating your first Flutter project
Once you’ve set up your Flutter development environment, you’re ready to create your first Flutter project. Follow these steps to create a new Flutter project: Open your IDE or code editor and create a new Flutter project. Choose a project name and location for your Flutter project directory.
2. Select the Flutter SDK path
if prompted, or ensure that the IDE recognizes the Flutter SDK location.
3. Choose a project template
(e.g., Flutter application, Flutter plugin, Flutter package) and configure any additional settings as needed.
Wait for the project to be created: and once completed, open the project directory in your IDE or code editor.
4. Run the Flutter project
by executing the command flutter run in the terminal or by clicking the run/debug button in your IDE.
Congratulations! You’ve successfully created your first Flutter project and are now ready to start building your Flutter application. You can explore the project structure, modify the default code, and experiment with Flutter widgets and features to develop your app further.
5. Designing the User Interface
Understanding Flutter’s widget-based architecture:
Flutter follows a reactive UI framework, where the UI is rebuilt in response to changes in state. Widgets are the building blocks of Flutter apps, representing everything from structural elements like buttons and containers to layout components like rows and columns. Flutter’s widget-based architecture allows for a highly customizable and flexible UI design.
Designing the layout using built-in widgets like Scaffold, AppBar, and ListTile:
Flutter provides a wide range of built-in widgets for designing UI layouts. The Scaffold widget serves as a basic layout structure, providing features like app bars, drawers, and bottom navigation. AppBar and ListTile are commonly used widgets for creating app bars and list items, respectively, allowing developers to easily organize and display content within their apps.
Adding interactivity with GestureDetector and other gesture detectors:
Flutter offers gesture detection widgets like GestureDetector, InkWell, and GestureDetectorDetector to handle user interactions such as taps, swipes, and long-presses. These widgets enable developers to make their apps more interactive by responding to user gestures and triggering specific actions or behaviors.
6. Implementing App Functionality
Defining app state with StatefulWidget:
StatefulWidget is a fundamental widget in Flutter for managing stateful components within an app. By encapsulating mutable state within a StatefulWidget, developers can update the UI in response to changes in state, ensuring a reactive and dynamic user experience.
Managing user input with TextEditingController:
TextEditingController is a Flutter class that allows developers to control and manipulate text input fields. It enables apps to retrieve user input from text fields, validate input data, and perform actions based on user interactions such as typing, editing, or submitting text.
Adding functionality to add and delete items from a list:
Flutter apps often involve managing lists of data, such as to-do lists, shopping carts, or contact lists. Developers can implement functionality to add, remove, or update items within a list by leveraging Flutter’s ListView widget and state management techniques.
Using setState() to update the UI in response to user actions:
setState() is a method provided by the StatefulWidget class to notify Flutter that the internal state of a widget has changed and needs to be updated. By calling setState() within event handlers or callback functions, developers can trigger UI updates and ensure that the app reflects the latest changes in state.
7. Testing and Debugging
Running the app on an emulator or physical device:
Flutter provides robust tools for testing apps on emulators, simulators, and physical devices. Developers can use the Flutter CLI commands or IDE integrations to launch their apps on various target platforms and simulate real-world usage scenarios.
Using Flutter’s hot reload feature for rapid development:
Hot reload is one of Flutter’s most powerful features, allowing developers to quickly update their app’s code and see the changes reflected instantly on the device or emulator. This iterative development process accelerates the debugging and refinement of app features, resulting in faster development cycles and improved productivity.
Debugging common issues and errors:
Flutter offers comprehensive debugging tools for diagnosing and resolving common issues and errors in Flutter apps. Developers can use the Flutter DevTools, IDE debuggers, and logging utilities to inspect app state, analyze performance metrics, and troubleshoot runtime errors effectively.
8. Styling and Theming
Customizing the app’s appearance with themes and styles:
Flutter provides a flexible theming system that allows developers to customize the visual appearance of their apps using themes and styles. Themes define the overall visual style of an app, including colors, typography, and shape properties, while styles allow for more granular control over individual UI components.
Using Material Design Principles for a modern and consistent look:
Flutter follows Google’s Material Design guidelines, which emphasize clean, modern, and consistent UI design principles. By adhering to Material Design standards, developers can ensure that their apps have a cohesive and familiar look across different platforms and screen sizes, enhancing usability and user satisfaction.
Adding custom fonts, colors, and icons to enhance the user experience:
Flutter supports the use of custom fonts, colors, and icons to create unique and visually appealing app designs. Developers can easily integrate custom font files, define custom color palettes, and incorporate custom icons from popular icon libraries like Font Awesome or Material Icons, allowing for a highly customized and immersive user experience.
8. Deploying Your App
Building the app for Android and iOS platforms:
Flutter enables developers to build apps for multiple platforms from a single codebase. Using Flutter’s build commands or IDE integrations, developers can generate platform-specific binaries for Android (APK) and iOS (IPA) platforms, ensuring compatibility with a wide range of devices and operating systems.
Generating release builds for distribution:
Before deploying an app to app stores or distribution channels, developers need to generate release builds that are optimized for production environments. This involves configuring build settings, signing the app with a digital certificate, and performing code obfuscation and optimization to reduce app size and improve performance.
Uploading the app to the Google Play Store or Apple App Store:
Once the release builds are generated, developers can submit their apps to app stores like the Google Play Store or Apple App Store for distribution. This process involves creating developer accounts, completing app store listings, providing app metadata, and complying with app store guidelines and policies to ensure successful app publication and availability to users.
9. Advanced Topics (Optional)
Exploring advanced Flutter features like animations, transitions, and custom painting:
Flutter offers a wide range of advanced features and capabilities for creating rich and immersive app experiences. Developers can explore techniques for implementing complex animations, fluid transitions, and custom drawing using Flutter’s animation and rendering APIs, allowing for highly polished and interactive app interfaces.
Integrating third-party packages for additional functionality:
Flutter’s package ecosystem provides a wealth of third-party libraries and plugins
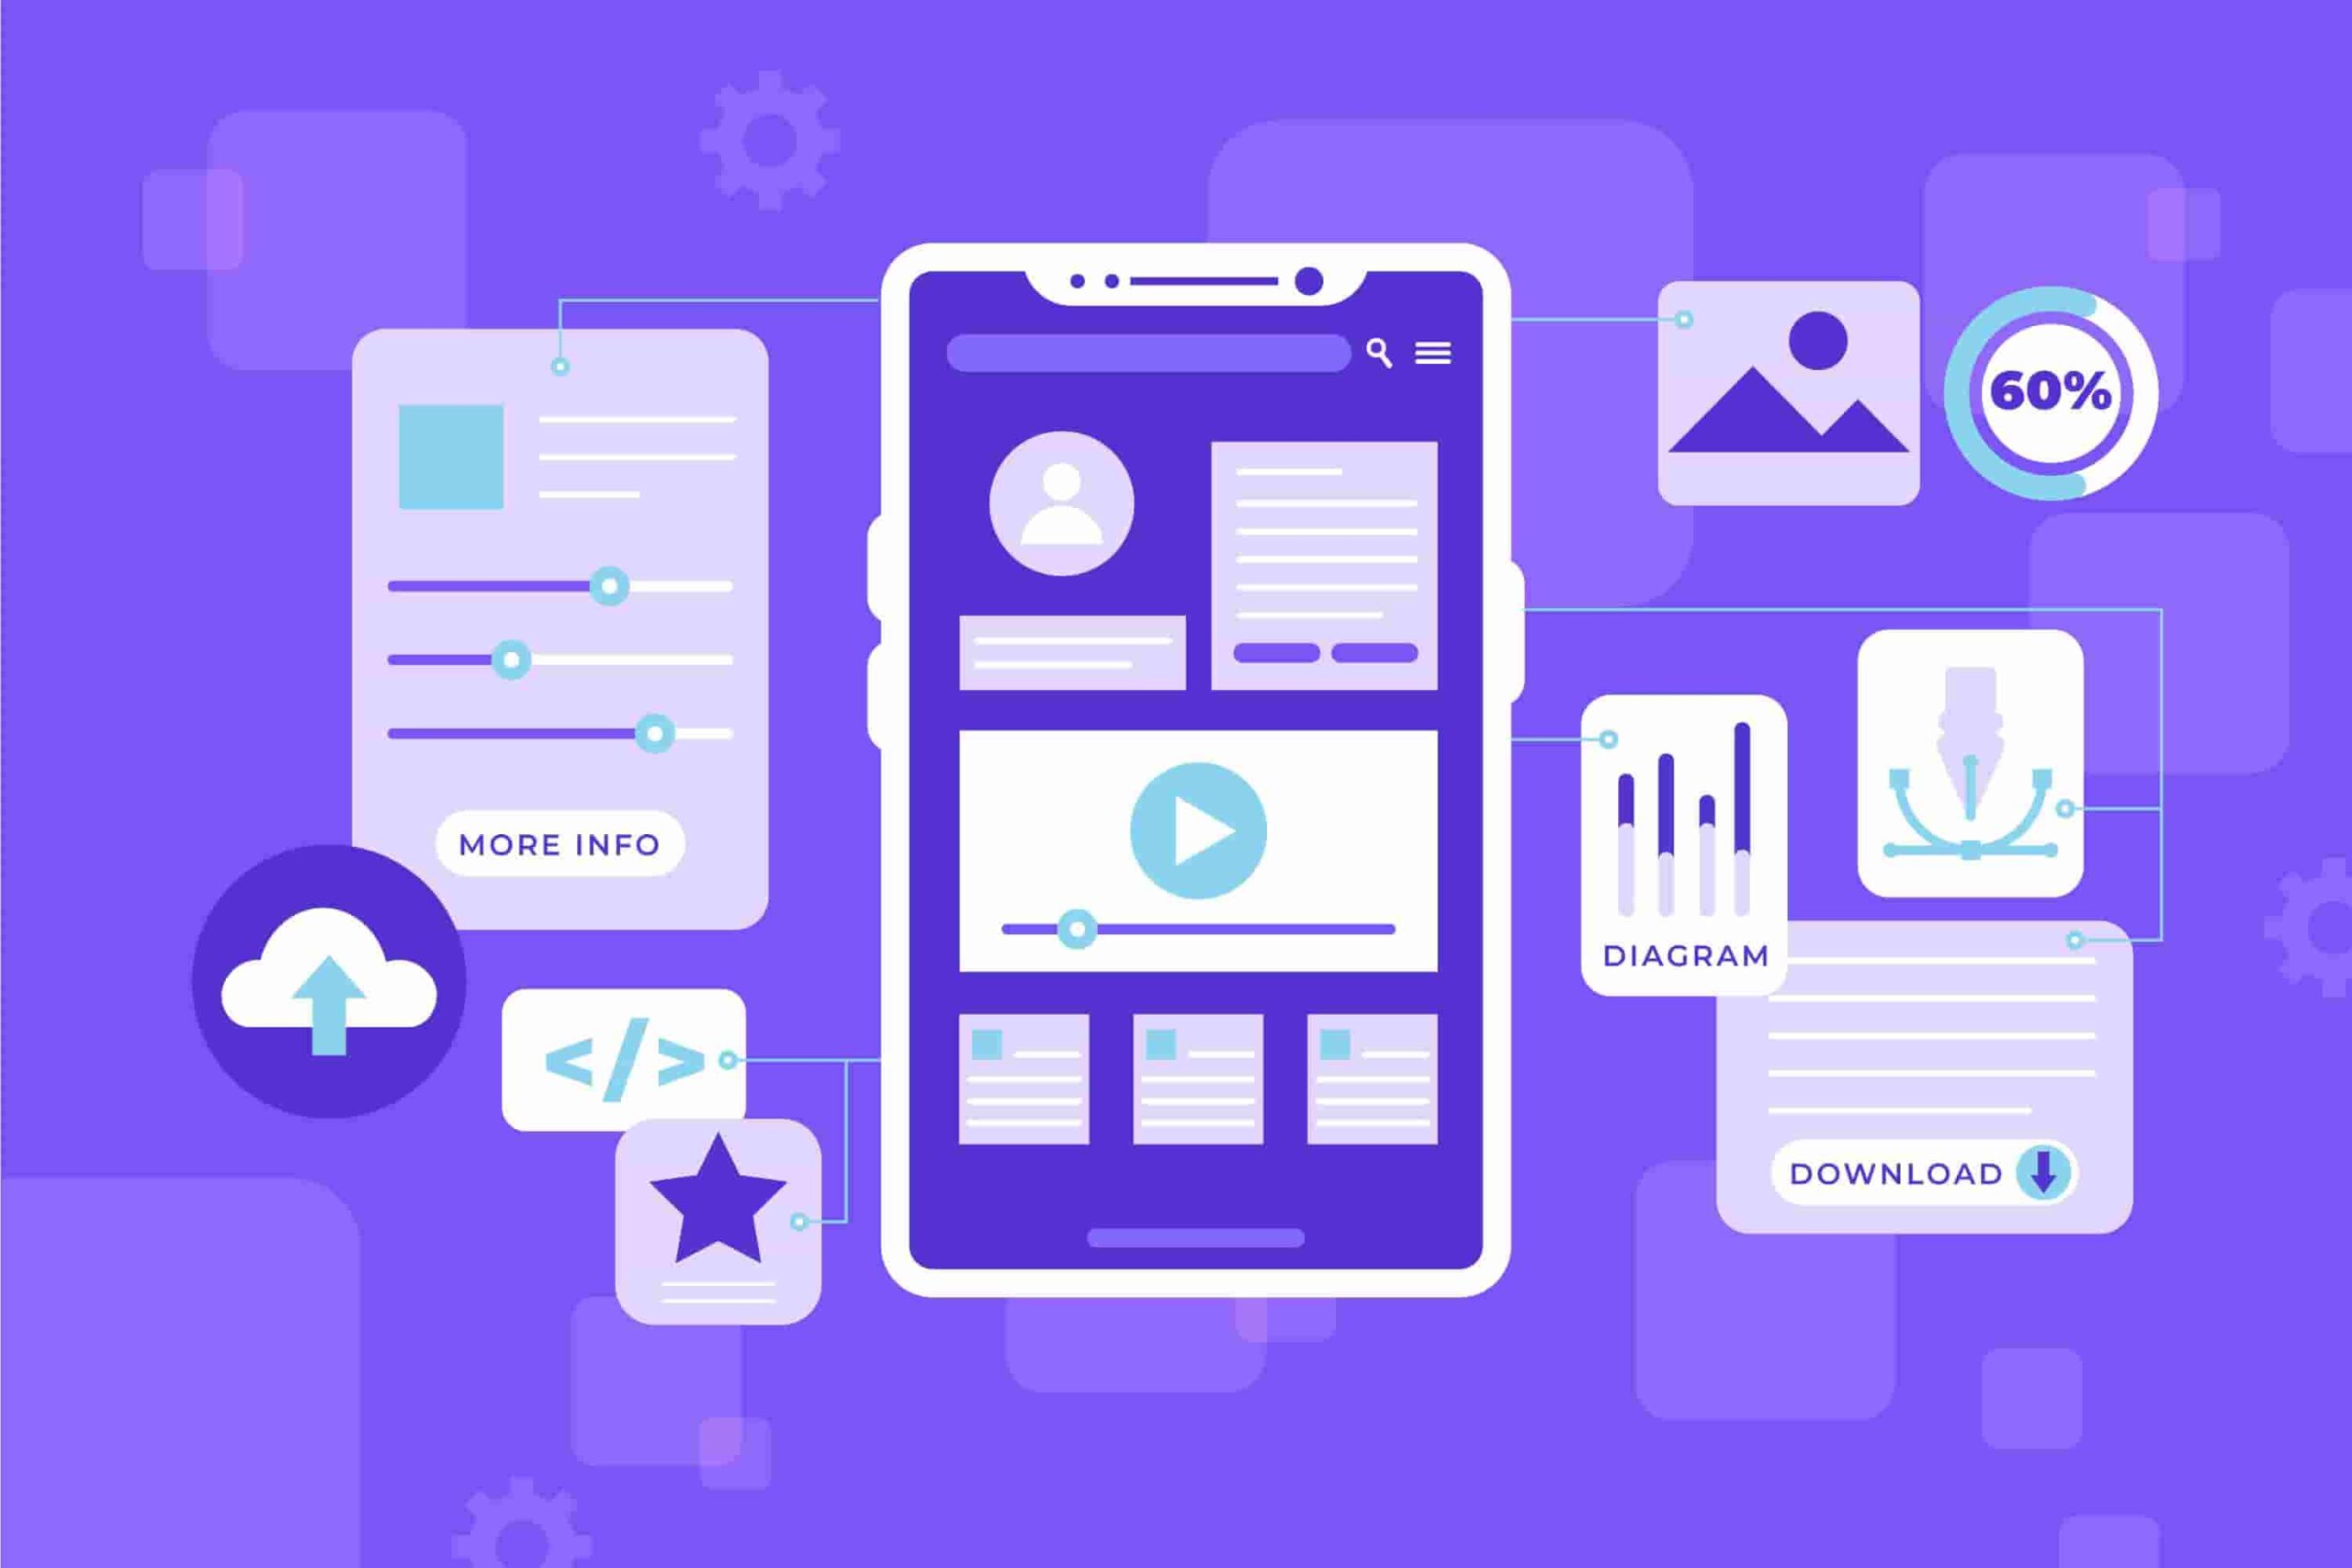
Certainly! Let’s dive into creating a simple Flutter app. Flutter is a powerful framework for building mobile and desktop applications, known for its outstanding performance and 60 Frames Per Second (FPS) benchmark. In this tutorial, we’ll create an app with a login layout and basic functionalities.
10. Enhancing User Experience
- Implementing navigation between screens using Flutter’s Navigator.
- Adding animations and transitions to create a more engaging user experience.
- Incorporating feedback mechanisms such as snack bar messages or dialogs to provide users with timely information.
User Onboarding:
Implement a smooth and informative onboarding process to help users understand how to use your app effectively. This could include a series of guided tutorials, tooltips, or walkthroughs to introduce key features and functionalities.
Feedback Mechanisms:
Provide users with clear feedback when they perform actions in your app. This could involve using animations, transitions, or visual cues to indicate that an action has been successfully completed or to alert users of errors or warnings.
Personalization:
Tailor the app experience to individual users by incorporating personalization features. This could involve allowing users to customize their app settings, preferences, or profile information to better suit their needs and preferences.
Offline Support:
Implement offline support to ensure that users can still access and use your app even when they’re not connected to the internet. This could involve caching data locally, providing offline modes for key features, or syncing data in the background when an internet connection is available.
11. Localization and Internationalization
Supporting multiple languages and regions with Flutter’s localization and internationalization features. Using Flutter’s tools and libraries to easily translate app text and adapt layouts for different languages and locales.
Testing localized versions of the app to ensure a seamless experience for users worldwide.
Localization:
Adapt your app to support multiple languages and regions by providing translations for text, images, and other content. Flutter’s built-in localization features make it easy to internationalize your app and provide a localized experience for users in different locales.
Internationalization:
Consider cultural differences and norms when designing your app’s user interface and user experience. This could involve adjusting date formats, currency symbols, or other elements to align with the preferences of users in specific regions.
Testing and Quality Assurance:
Thoroughly test localized versions of your app to ensure that text translations are accurate and that the app functions correctly in different languages and locales. This may involve conducting usability testing with users from diverse cultural backgrounds to identify and address any localization issues.
Accessibility
Ensuring your app is accessible to users with disabilities by following Flutter’s accessibility guidelines.
Adding semantic labels and descriptions to widgets for screen readers.
Testing the app with accessibility tools to identify and address any usability issues.
Semantic Markup:
Use Flutter’s accessibility features to add semantic labels and descriptions to widgets, making it easier for screen readers and other assistive technologies to interpret and navigate the app’s content.
Keyboard Navigation:
Ensure that users can navigate through your app using only a keyboard or other input devices, without relying solely on touch or mouse interactions. This includes providing keyboard shortcuts, focus management, and logical tab order for interactive elements.
Contrast and Readability:
Choose color schemes and text styles that provide sufficient contrast and readability for users with visual impairments. Avoid using color alone to convey information, and provide alternative visual cues for users who may have difficulty distinguishing between colors.
Performance Optimization
- Profiling the app’s performance using Flutter’s built-in tools like DevTools.
- Identifying and addressing performance bottlenecks such as inefficient layout rendering or excessive widget rebuilding.
- Optimizing app size and startup time for a smoother user experience.
Code Optimization:
Write clean, efficient code and minimize unnecessary computations, memory allocations, and I/O operations. Use Flutter’s profiling tools to identify performance bottlenecks and optimize critical code paths.
Asset Optimization:
Compress and optimize images, videos, and other assets to reduce file size and improve loading times. Consider using adaptive asset loading techniques to load resources dynamically based on device capabilities and network conditions.
Network Optimization:
Minimize network requests and optimize data transfer by using caching, compression, and batch processing techniques. Implement lazy loading and pagination to efficiently load large datasets and reduce bandwidth usage.
12. Continuous Integration and Delivery (CI/CD)
- Setting up CI/CD pipelines to automate the build, test, and deployment process.
- Integrating Flutter with popular CI/CD platforms like Jenkins, Travis CI, or GitHub Actions.
- Streamlining the release process and ensuring consistent app quality with automated testing and deployment.
Automated Testing:
Write automated tests for your app’s critical features, including unit tests, integration tests, and UI tests. Integrate these tests into your CI/CD pipeline to automatically verify app functionality and detect regressions.
Continuous Integration:
Set up a CI server to automatically build, test, and validate changes to your app’s codebase. Use tools like Jenkins, Travis CI, or GitHub Actions to automate the CI process and ensure that each code change meets quality standards before merging into the main codebase.
Continuous Delivery:
Automate the deployment process to deliver new app releases to users quickly and efficiently. Use tools like Fastlane or Codemagic to automate app signing, app store submissions, and release management, allowing you to focus on developing new features and improvements.
Prerequisites
Before we begin, ensure you have the following tools installed on your machine:
- Visual Studio Code. One of Flutter’s recommended IDEs.
- Android Emulator / iOS Simulator / Original device. To run your app.
- Flutter. If you haven’t already installed it, follow the official documentation to set it up.
- Flutter plugin for VS Code Recommended for smoother development.
Creating the Project
- Navigate to the folder where you want to create your app.
- Open Visual Studio Code from that directory.
- Press `CTRL + SHIFT + P` to open the command palette and type “Flutter.”
- Choose “Flutter: New Project” from the options.
- Select “Application” as the project type.
- Specify a target folder for your project (by default, it’ll be in the same folder where you opened VS Code).
- Enter your desired app name (e.g., “login app”).
VS Code will create a new Flutter project, and you’ll see a screen indicating that your project is ready. The `main. dart` file will be opened automatically—this is where Flutter starts running your app.
Spinning Up the Device
To run your app, make sure you have either a virtual device (Android Emulator or iOS Simulator) or an actual device connected to your machine.
Now you’re all set! You can start building your simple login app using Flutter. Feel free to explore more features and functionalities as you continue your journey with this versatile framework.
Remember, setting a goal is half the work done—so set your goal and enjoy creating!
- If you’d like more ideas or want to explore other projects, check out these resources:
- [21 Flutter Example Apps](https://www.devaradise.com/flutter-example-apps): Includes open-source beginner-friendly apps.
- [15 Flutter App Ideas](https://blog.nerdjfpb.com/project-ideas-for-flutter-beginners-to-expert/): Ranging from beginner to expert level.
Happy coding!
Conclusion
Building a simple app with Flutter is a great way to get started with mobile app development and familiarize yourself with Flutter’s powerful features and capabilities. By following the steps outlined in this guide, you’ll gain hands-on experience in designing UIs, implementing functionality, testing, and deploying Flutter apps.
Whether you’re a beginner or an experienced developer, Flutter offers a versatile and efficient platform for building high-quality mobile applications that run seamlessly on both Android and iOS devices. So, roll up your sleeves, dive into Flutter, and start building your first app today!
So, continue to learn, experiment, and innovate with Flutter, and unlock the full potential of your creativity as a mobile app developer. Your journey with Flutter is just beginning, and the future holds endless opportunities for growth and success.